
Popular categories
Looking for a yarn?


How to knit a simple ribbed hat
Would you like to learn how to knit a simple ribbed hat? Follow this lesson that shows you step by step how to knit our hat pattern “Sun By The Water” (DROPS 204-8).
Do you have any questions? Leave them in the comment section at the bottom of the page and we'll get back to you asap!

Size: S/M – M/L
Head circumference: approx. 54/56 – 56/58 cm
(In this lesson we work size S/M which is highlighted in bold text.)
Materials: DROPS SKY from Garnstudio (belongs to yarn group B).
50-100 g colour 17, curry
Knitting tension: 23 stitches in width and 32 rows vertically in stocking stitch = 10 x 10 cm. NOTE: Rib will contract the piece in width.
Needles:
DROPS DOUBLE POINTED NEEDLES SIZE 3 mm.
DROPS CIRCULAR NEEDLE SIZE 3 mm: Length 40 cm.
Needle size is only a suggestion! If you have too many stitches on 10 cm switch to larger needles. If you have too few stitches on 10 cm switch to smaller needles.
Let’s get started!
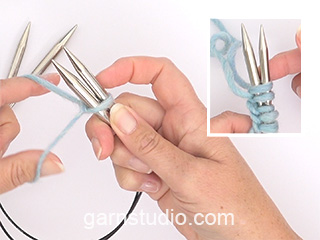
The piece is worked in the round on circular needles, bottom up. Switch to double pointed needles when needed.
Cast on 124-128 stitches on a short circular needle size 3 mm with Sky.

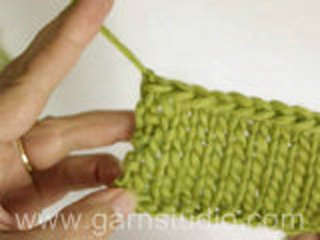
Purl 1 round. Then work rib in the round = knit 2/ purl 2.

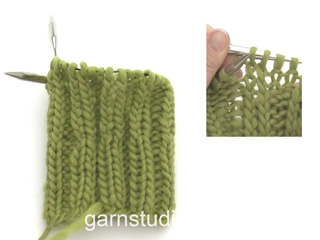
When piece measures 25-26 cm from cast-on edge, begin decreases.

ROUND 1: Decrease all 2 purl to 1 purl (purl 2 together) = 93-96 stitches.

ROUNDS 2-3: Knit over knit and purl over purl.

ROUND 4: Decrease all 2 knit to 1 knit (knit 2 together) = 62-64 stitches.

ROUNDS 5-6: Knit over knit and purl over purl. Switch to double pointed needles when needed.

ROUND 7: Knit all stitches together 2 by 2 = 31-32 stitches.

ROUNDS 8-9: Knit all stitches.

ROUND 10: Knit all stitches together 2 by 2 until 1-0 stitch remain, knit the remaining stitch = 16-16 stitches.


ROUND 11: Knit all stitches.

ROUND 12: Knit all stitches together 2 by 2 = 8-8 stitches.

Cut the yarn and pull it through the remaining stitches, tighten together and fasten.

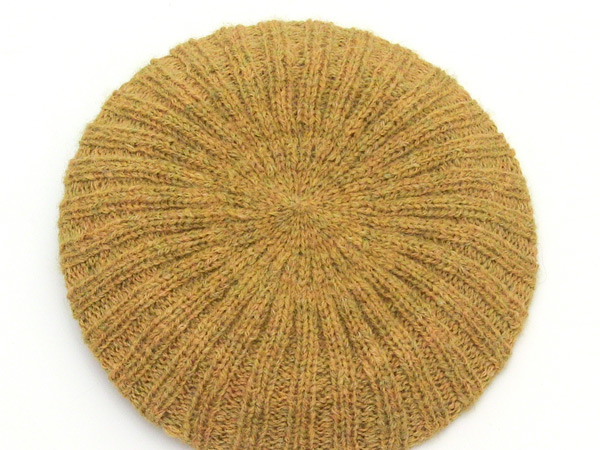
And then we are done! Piece now measures approx. 29-30 cm from cast-on edge. Fold approx. 5 cm at the bottom upwards.


Remember to post your pictures on social media using the hashtags #sunbythewaterhat - or submit your project to the #dropsfan gallery
Need some help?
Should you want more information about the different stitches or techniques, here’s a list of lessons and video tutorials that will help:


With over 40 years in knitting and crochet design, DROPS Design offers one of the most extensive collections of free patterns on the internet - translated to 17 languages. As of today we count 304 catalogues and 11422 patterns - 11422 of which are translated into English (UK/cm).
We work hard to bring you the best knitting and crochet have to offer, inspiration and advice as well as great quality yarns at incredible prices! Would you like to use our patterns for other than personal use? You can read what you are allowed to do in the Copyright text at the bottom of all our patterns. Happy crafting!