
Popular categories
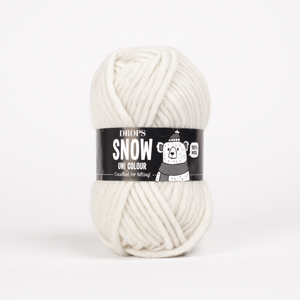
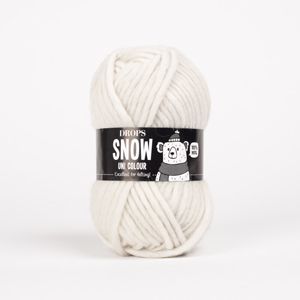
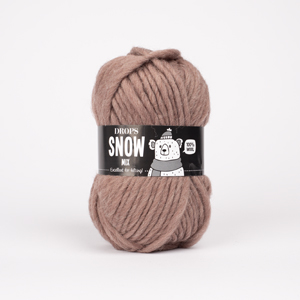
Looking for a yarn?


|
|
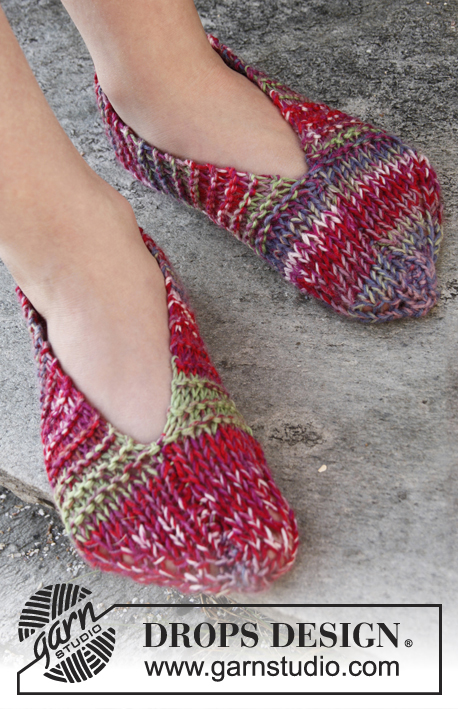
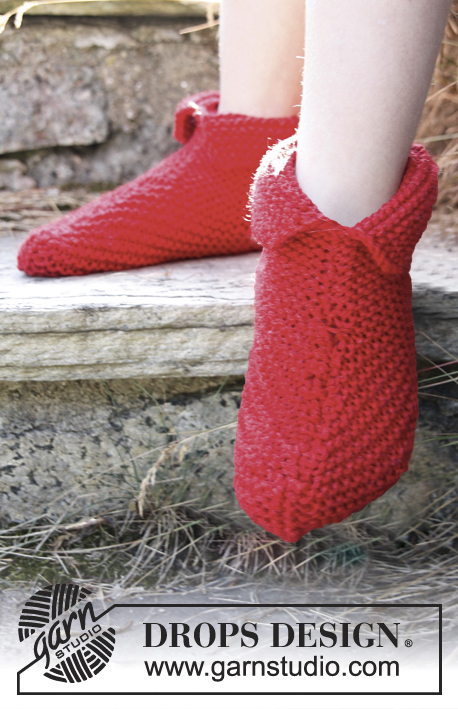
Fairy Slippers |
|
|
|
|
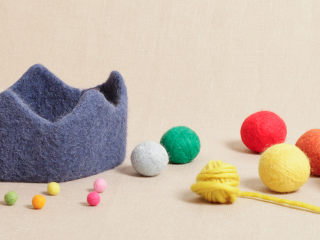
Felted DROPS slippers with crochet flower in “Snow”. Size 23 - 37.
DROPS Children 22-24 |
|
|
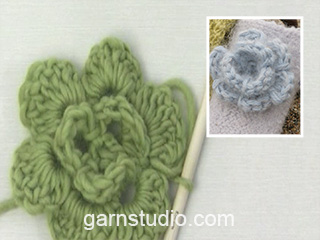
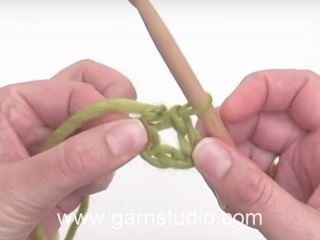
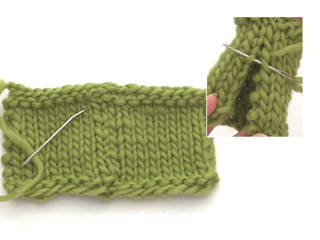
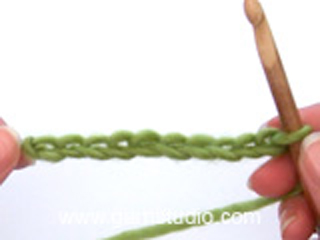
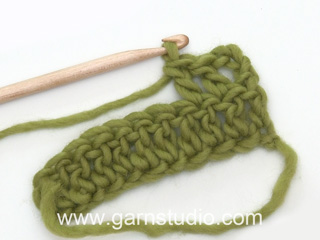
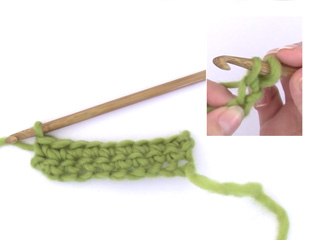
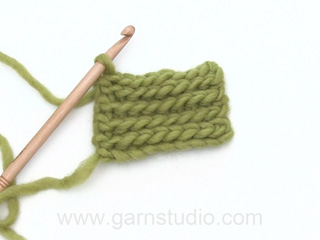
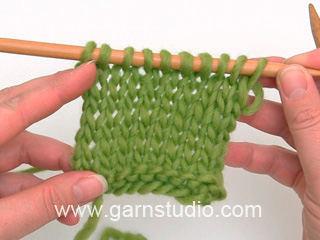
GARTER ST (back and forth on needle): K all rows. INCREASE TIP: Inc 1 st from RS by making 1 YO. On next row P YO twisted, i.e. work in back loop of st instead of front, to avoid holes. ---------------------------------------------------------- SLIPPER: Work back and forth on the needle from the toe towards the heel. The slipper is sewn tog mid on top of foot when finished. Cast on 8-10-11-13-14 sts on needle size 6 mm with medium purple (let the thread end be approx. 50 cm for sewing the slipper tog when finished). Insert a marker in the 3rd-4th-4th-4th-5th st and a marker in the 6th-7th-8th-10th-10th st. Work in stocking st - AT THE SAME TIME on 1st row (= RS), inc 1 st on each side of the 2 markers – see INCREASE TIP! Repeat inc on every row from RS a total of 6 times = 32-34-35-37-38 sts. REMEMBER THE KNITTING TENSION! Continue to work in stocking st until piece measures 12-13-14-15-16 cm. Continue as follows: 6-7-7-8-8 sts in garter st, 20-20-21-21-22 sts in stocking st, 6-7-7-8-8 sts in garter st. When piece measures 28-31-33-36-40 cm, cast off all sts. ASSEMBLY: Sew the thread at the toe through sts at cast on edge and tighten tog. Then sew the seam mid on top of foot in front loop of outermost sts, sew until the beg of the sts in garter st. Then sew tog mid back, edge to edge to avoid a chunky seam. FELTING: Place the slippers in the washing machine with a detergent without enzymes and optical bleach. Wash at 40 degrees with normal spin but no pre-wash. Put on the slippers and shape it to the correct size while it is still wet. At subsequent wash, wash the slippers at regular wool programme. CROCHET FLOWER: If desired, crochet a flower that is sewn on top of each slipper after felting. Work on hook size 6 mm with orchid as follows: Work 4 ch and form a ring with 1 sl st in first ch. ROUND 1: * 1 dc in ch-ring, 3 ch *, repeat from *-* a total of 3 times and finish with 1 sl st in first dc from beg of round = 3 ch-loops. ROUND 2: Crochet as follows in every ch-loop: 1 sl st, 5 tr and 1 sl st = 3 leaves. Turn piece - work next round on the back of the flower. ROUND 3: 1 ch, work 1 dc in first dc from 1st round, 4 ch, 1 dc at the bottom in the middle of first leaf from 2nd round, 4 ch, 1 dc in next dc from 1st round, 4 ch, 1 dc at the bottom in the middle of next leaf from 2nd round, 4 ch, 1 dc in next dc from 1st round, 4 ch, 1 dc at the bottom in the middle of the last leaf from 2nd round, finish with 4 ch and 1 sl st in the first dc at beg of round = 6 ch-loops. Turn piece - work next round on the front of the flower. ROUND 4: Crochet as follows in every ch-loop: 1 sl st, 6 tr and 1 sl st = 6 leaves, cut the thread. AFTER FELTING: If the piece is not felted enough and is too big: Wash the piece one more time in the washing machine while it is still wet add a terry towel that measures approx. 50 x 70 cm - NOTE: Do not use a short program. If the piece has been felted too much and is too small: While the piece is still wet stretch it to the correct measurements, if the piece is dry, make sure to soak it first. Remember: All subsequent washes are as a normal wool garment. |
|
|
Have you made this or any other of our designs? Tag your pictures in social media with #dropsdesign so we can see them! Do you need help with this pattern?You'll find tutorial videos, a Comments/Questions area and more by visiting the pattern on garnstudio.com. © 1982-2024 DROPS Design A/S. We reserve all rights. This document, including all its sub-sections, has copyrights. Read more about what you can do with our patterns at the bottom of each pattern on our site. |


With over 40 years in knitting and crochet design, DROPS Design offers one of the most extensive collections of free patterns on the internet - translated to 17 languages. As of today we count 304 catalogues and 11422 patterns - 11422 of which are translated into English (UK/cm).
We work hard to bring you the best knitting and crochet have to offer, inspiration and advice as well as great quality yarns at incredible prices! Would you like to use our patterns for other than personal use? You can read what you are allowed to do in the Copyright text at the bottom of all our patterns. Happy crafting!
Comments / Questions (9)
I början beskrivs rätstickning (alla v räta), men i mönster står det slätst. Hur ska dessa stickas? Slätst brukar väl innebära vartannat v rätt, vartannat v avigt?
20.12.2023 - 21:19DROPS Design answered:
Hej Nina. Ja det stämmer. När det står att du ska sticka slätstickning stickar du räta på rätsidan och aviga på avigsidan. Mvh DROPS Design
21.12.2023 - 12:18"Naai dan de hiel middenachter samen met de zijkanten tegen elkaar om een dikke naad te voorkomen." Hoe moet dit gebeuren? Ik begrijp deze instructie niet. Alvast bedankt voor jullie antwoord!
06.02.2022 - 21:11DROPS Design answered:
Dag Ina,
Wat er bedoeld wordt is dat je de naden niet op elkaar plaatst maar tegen elkaar en dan dicht naait.
11.02.2022 - 16:05Bonjour, j'ai suivi les indications à la lettre ( échantillon, laine, aiguilles, augmentations) pour une taille 29/31 et j'ai obtenu des chaussons de 22 cm (soit une taille 37) je les ai repassé 2 fois à la machine mais ils sont beaucoup trop grands ! Je suis étonnée car j'avais fait d'autres modèles sans avoir rencontré ce problème, il n'y aurait pas une erreur sur les nombres de mailles ?
07.03.2021 - 10:47DROPS Design answered:
Bonjour Murielle, vérifiez bien les réglages de votre machine, DROPS Snow feutre très facilement en machine, mais si vous avez un réglage de type "whirlpool", il est possible que vous n'y arriverez pas. Retrouvez toutes les indication sur le feutrage ici et n'hésitez pas à contacter votre magasin pour toute assistance complémentaire, plus simple pour eux, même par mail ou téléphone de vous assister. Bon feutrage!
08.03.2021 - 08:48Athena Williams wrote:
Where are the markers placed in subsequent increase rows, first row is in 3rd and 6th stitch for the size I am doing, Thank you Athena
17.11.2015 - 19:46DROPS Design answered:
Dear Mrs Williams, the markers should be placed in the 3rd and 6th st and should be kept in these sts. Inc are then done on each side of these sts. Happy knitting!
18.11.2015 - 09:01Bonjour Avant tout merci pour ce site, magnifique !... Je ne comprends pas les explications pour ce modèle de chaussons que je voulais tricoter pour ma fille de 5 ans Comment arrive t-on a 34 maille en ne faisant que 6 fois une augmentation d'une maille de chaque côté des marqueurs, ça donne 22 mailles et non 34 ?... Du coup pour obtenir 34 mailles ça rallonge le modèle... De même pour avoi un chausson avant frettage de 31cm ... Du coup je fais une paire de chaussons pour moi .. Merci.
30.03.2014 - 17:20DROPS Design answered:
Bonjour Anne-Marie, en taille 26/28, on monte 10 m, puis on augmente 4 m (de chaque côté des 2 marqueurs) 6 fois tous les 4 rangs (soit 24 augmentations), soit 10+24=34m. Bon tricot!
31.03.2014 - 10:17Hallo, ich würde die Schuhe gerne ohne Blume stricken, wieviel Garn weniger benötige ich dann? Danke
19.03.2014 - 09:32DROPS Design answered:
Liebe Sabine, die Mengenangabe für die Blume finden Sie bei der Mengenangabe für den Hausschuh - 50 g. Die Blume wird in einer anderen Farbe (Farbe Nr. 04) gestrickt als der Hausschuh, kaufen Sie also einfach nur die Wollemenge, die in Farbe Nr. 54 angegeben ist.
19.03.2014 - 11:04Fateme wrote:
Hi i need diagram for making this pattern i can not understand the way you explain thank you best regards
30.12.2013 - 09:07Det er en barenoppskirft. Dame/herremodelle finner du under 135-38.
19.12.2011 - 08:44Det skulle i hvertfall være størrelse 39 med, som vel er en av de mest brukte hos voksne.
19.12.2011 - 00:06